We got some fantastic gifts of jailbreaks over the holiday so naturally I get very excited and dove right in so I can start getting back into research for iOS 10.3+ and iOS 11. The first step in this research is getting physical access to the device and capturing data. For some background please refer to my previous article on this: iOS Imaging on the Cheap!
This article will include the jailbreaks for iOS 10.3.3 using Meridian and iOS 11 using LiberiOS. My go to for all jailbreaks is The iPhone Wiki. Always, always, always make sure you go to the legitimate jailbreak host to ensure non-compromised jailbreak software. These two jailbreaks are semi-tethered jailbreaks meaning they revert the devices to non-jailbroken status when the devices are rebooted. Both of these jailbreaks are apps that run on the device thus you will be downloading an IPA file and installing them via Cydia Impactor. Quick instructions are the following, feel free to search for more detailed instructions - they are all over the place:
Download IPA
Plug in the device
Drag & Drop onto Cydia Impactor
Input Apple ID email & password (you may need to generate an app specific password if you have two-factor turned on).
Install will do its thing, depending on you developer status you may need to trust the app developer in Settings.
Let’s start with an iPad Mini on iOS 10.3.3 using the Meridian Jailbreak. The jailbreak app installation process was easy, it was actually exploiting the device which took some patience. As it states in the app, it may take up to 10 times. It took me three times the first time and six times in my second effort.


Next step is to SSH into the device. This was also a bit frustrating – part of it because I didn’t read the FAQ and part because the SSH software installed on the device is not very stable.
First off the SSH port used is on 2222, not the normal 22 so be aware of that if you use iproxy like myself – you need to use the command ‘iproxy 2222 4242 (or some other port number) instead of ‘iproxy 22 2222’.
Second is the SSH software used, dropbear. I had serious issues attempting to SSH into this device. Sometimes it worked, sometimes it refused the connection. Just keep trying is my solution – it will eventually work.
Finally, once you are in be sure to change the passwords for the ‘root’ and ‘mobile’ accounts by using the command ‘passwd root’ and ‘passwd mobile’ (see the screen shot below in the next section).
To image the device you can use a modified version of the command that I used in my previous blog article (assuming you are using iproxy for USB tethering – modify as needed if not).
ssh –p 4242 root@127.0.0.1 '/meridian/bins/tar –cf - /' > ios_physical_logical_dump.tarThis jailbreak (as well as LiberiOS) are installing their own set of binaries which include some normal Unix utilities not installed on iOS. The tar command is in a different directory than what is normally used therefore it may not work to just use ‘tar’, instead point it to the one Meridian put on the device.
Another item you may have noticed that has changed with the command above is that I’m doing a ‘physical logical’ acquisition of the entire device using from the root directory or ‘/’. Previously I would capture the system partition as a full dd image using /dev/disk0s1s1, however something with these newer operating systems is limiting my access to it. Best guess at this point is that it’s an APFS thing ¯\_(ツ)_/¯ . Shown below doing a simple 'xxd' to view the partition is not permitted as root, this also goes for 'dd' and other utilities.
While this makes me a bit sad, I can still grab a logical copy of the files on the system and data partitions in one shot by using the command above. I did have some issues with the tar command exiting and eventually just had to assume I had all the files just on the size of the tar bundle so keep an eye on it.
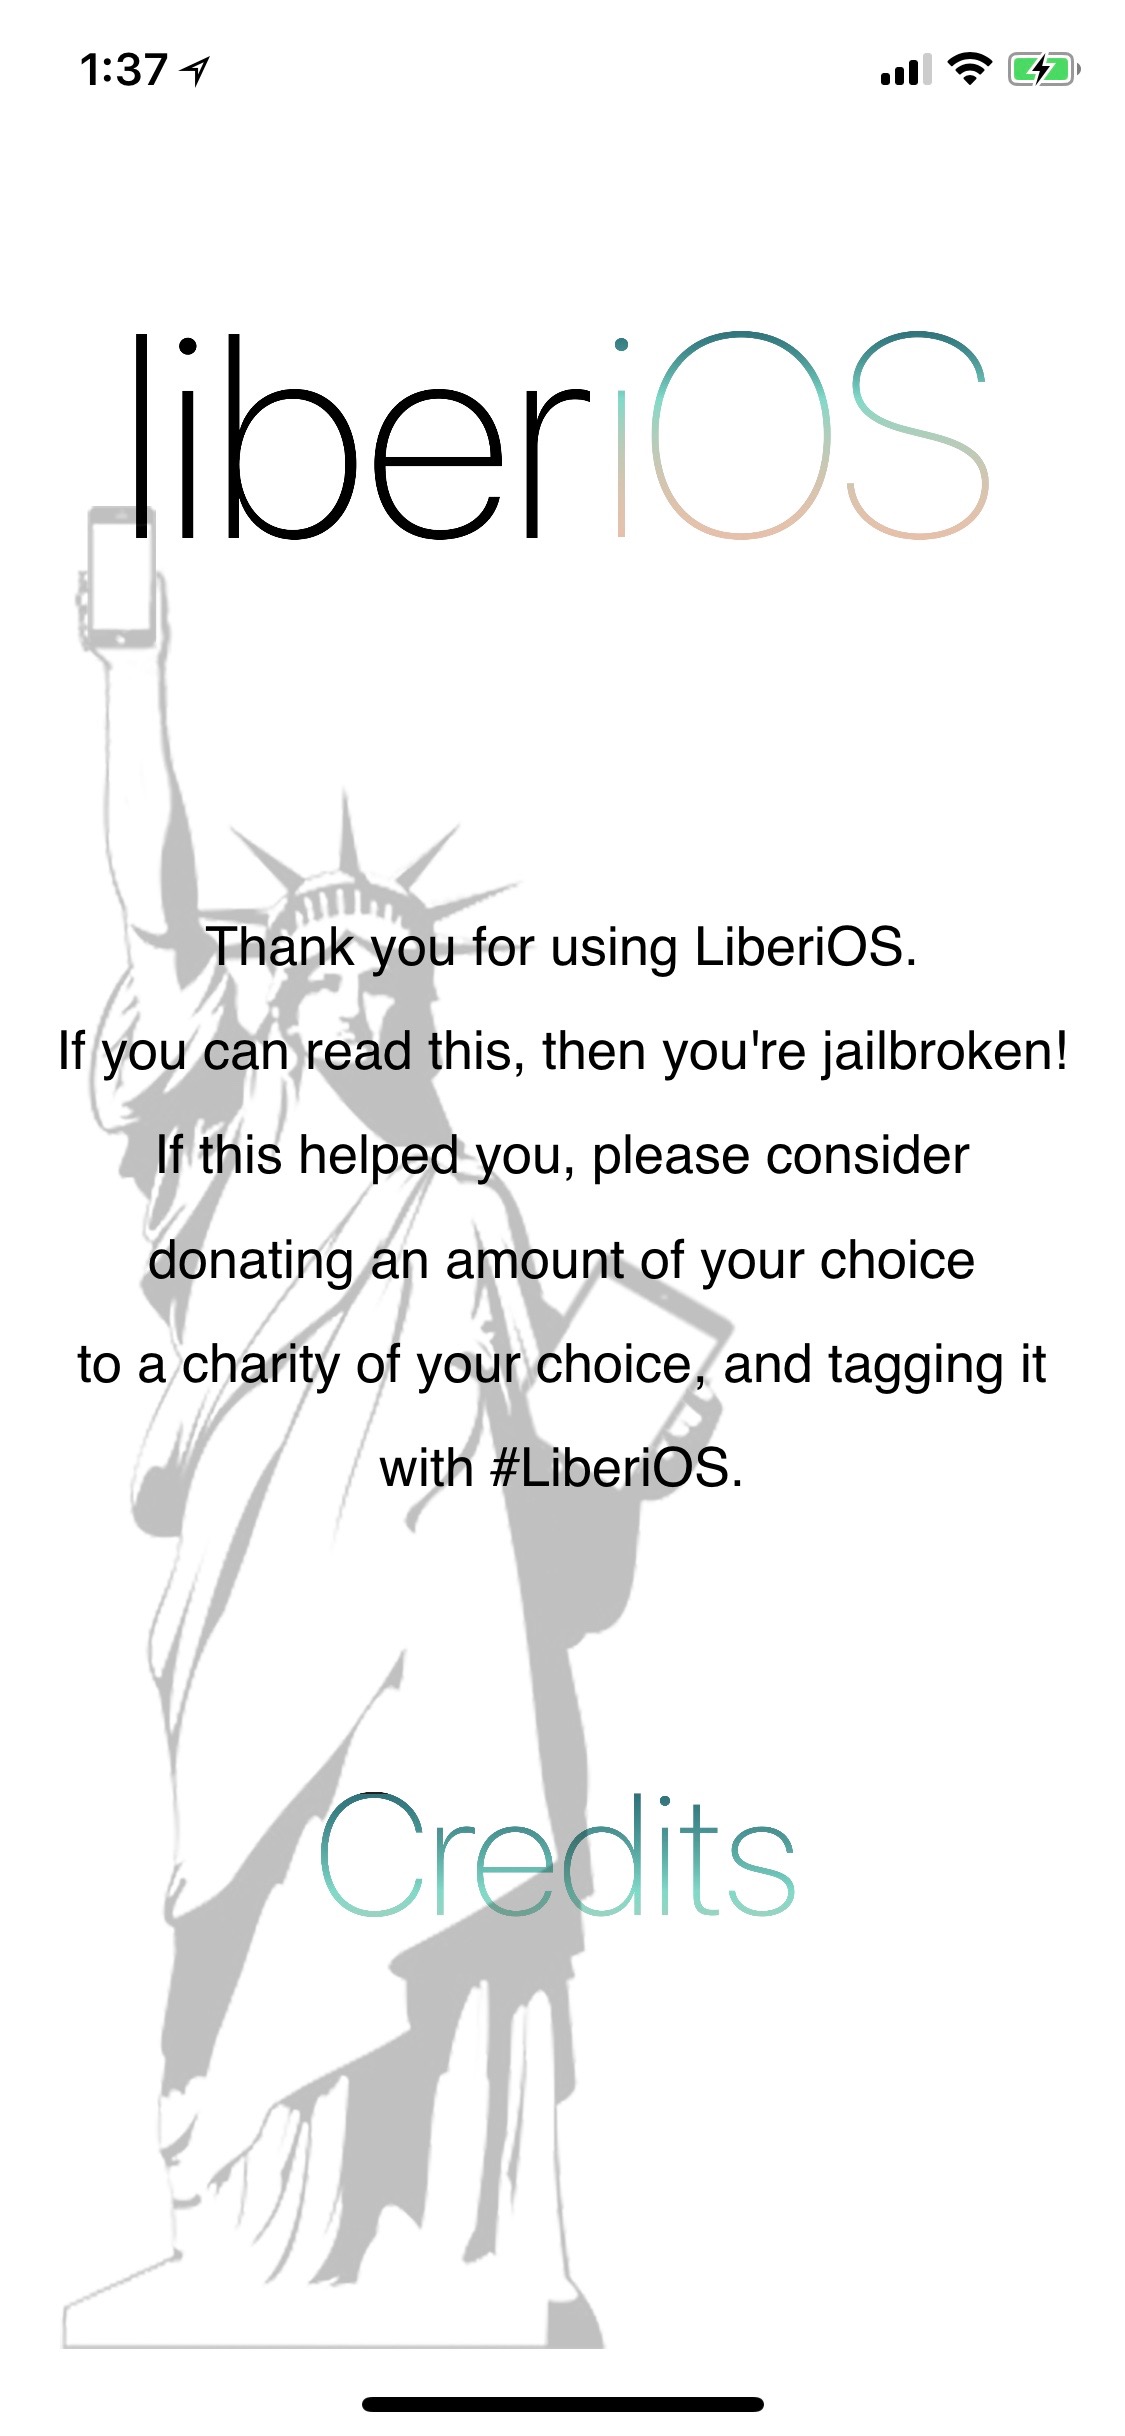
Next up is an iPhone on iOS 11.1.2 using LiberiOS. Installation was just like Meridian – quick, easy, and flawfless.
This jailbreak was less quirky. As with the other jailbreak you should change the password for the 'root' and 'mobile' account immediately. This jailbreak provides the following instructions when first SSH'ed into. I highly reccomend running the export command shown below.
I was able to run the same command to procure a ‘physical logical’ acquisition of the device with a slight change because of where LiberiOS puts the tar utility. Once run you might get a few errors due to files being ignored or not permitted to be captured by 'tar'. This is normal.
ssh –p 4242 root@127.0.0.1 '/jb/usr/bin/tar –cf - /' > ios_physical_logical_dump.tarEnjoy the new jailbreaks and may your forensic research and acquisitions be fruitful! I would also like to give a big THANK YOU to everyone who worked and contributed to these jailbreaks - they really do help with forensic research!


